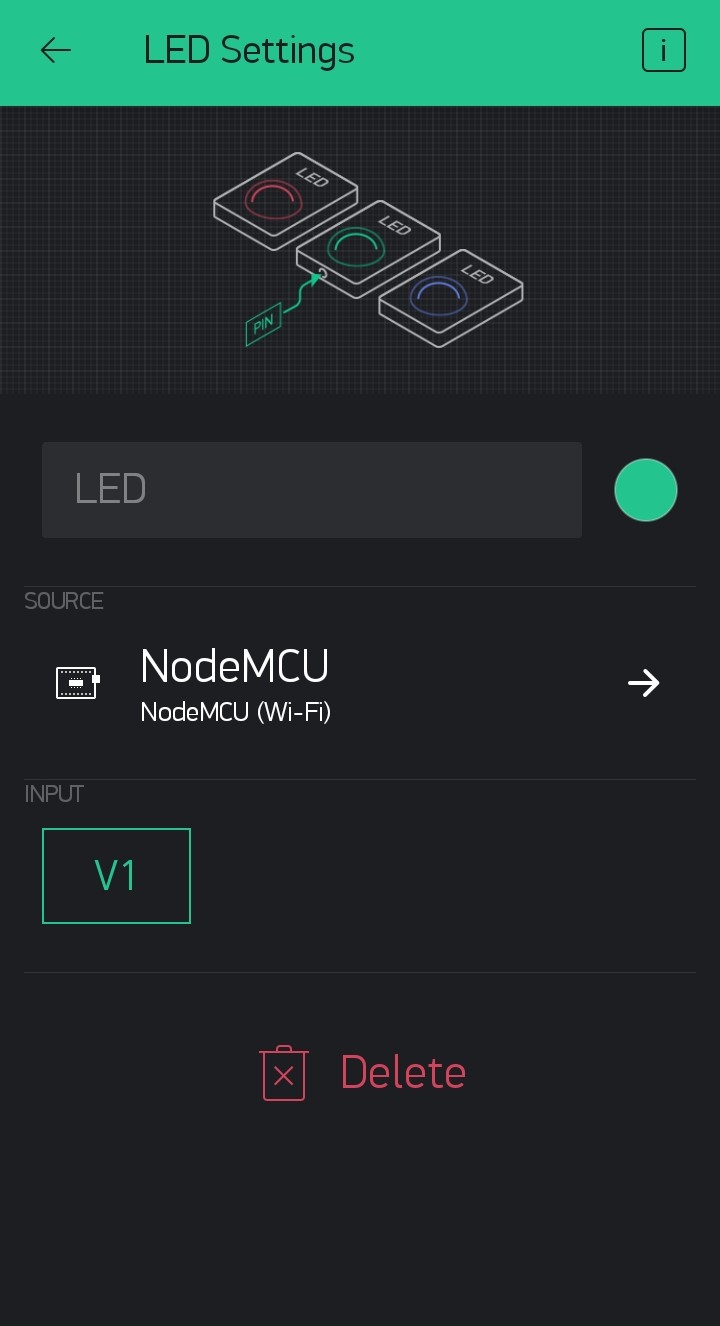
We already blinked the built-in LED of NodeMCU. We have also discussed the Blynk App, how to install and set it up. Now we will go for the Led of Blynk app. These Widgets act as virtual hardware. Our Aim is to blink the Virtual LED with the actual LED in NodeMCU.
If you are new then follow the Step by Step Blynk Installation Guide to install the Blynk app on your phone. If you are using NodeMCU for the first time then you have to add NodeMCU to your Arduino IDE. Please follow the step-by-step tutorial for Programming NodeMCU Step by Step Using Arduino IDE.
In our last blog, we got a mail from Blynk which has Auth Token. This Auth Token is a unique identifier that is particularly dedicated to a controller or hardwire. Think of it as your identity number of the NodeMCU. With this ID number, Blynk identifies your controller and differentiates it from all other controllers that are running by others all around the globe.
For this project, we will only need
- NodeMCU
- Blynk App Installed in a Android Phone
Step 1: Open Arduino IDE.

Step 2: Copy-Paste the code there.

Step 3: Copy the Auth-Code that is sent to your mail-id. Just delete YourAuthToken and paste your auth code there. Then delete YourNetworkName and write your WiFi router or phones hotspot name there. Finally, delete YourPassword and put your Wi-Fi or hotspot password.

Step 4: Click on Tools and make sure that you have selected the right device and the right port. For me its NodeMCU and COM11. (For you it may not be COM11 so check before uploading)

Step 5: Finally, save the code and hit the upload button.

No comments:
Post a Comment